TeX Setup
Table of contents
How to get TeX up and running with UTF-8 on various systems, using XeLateX and VSCode.
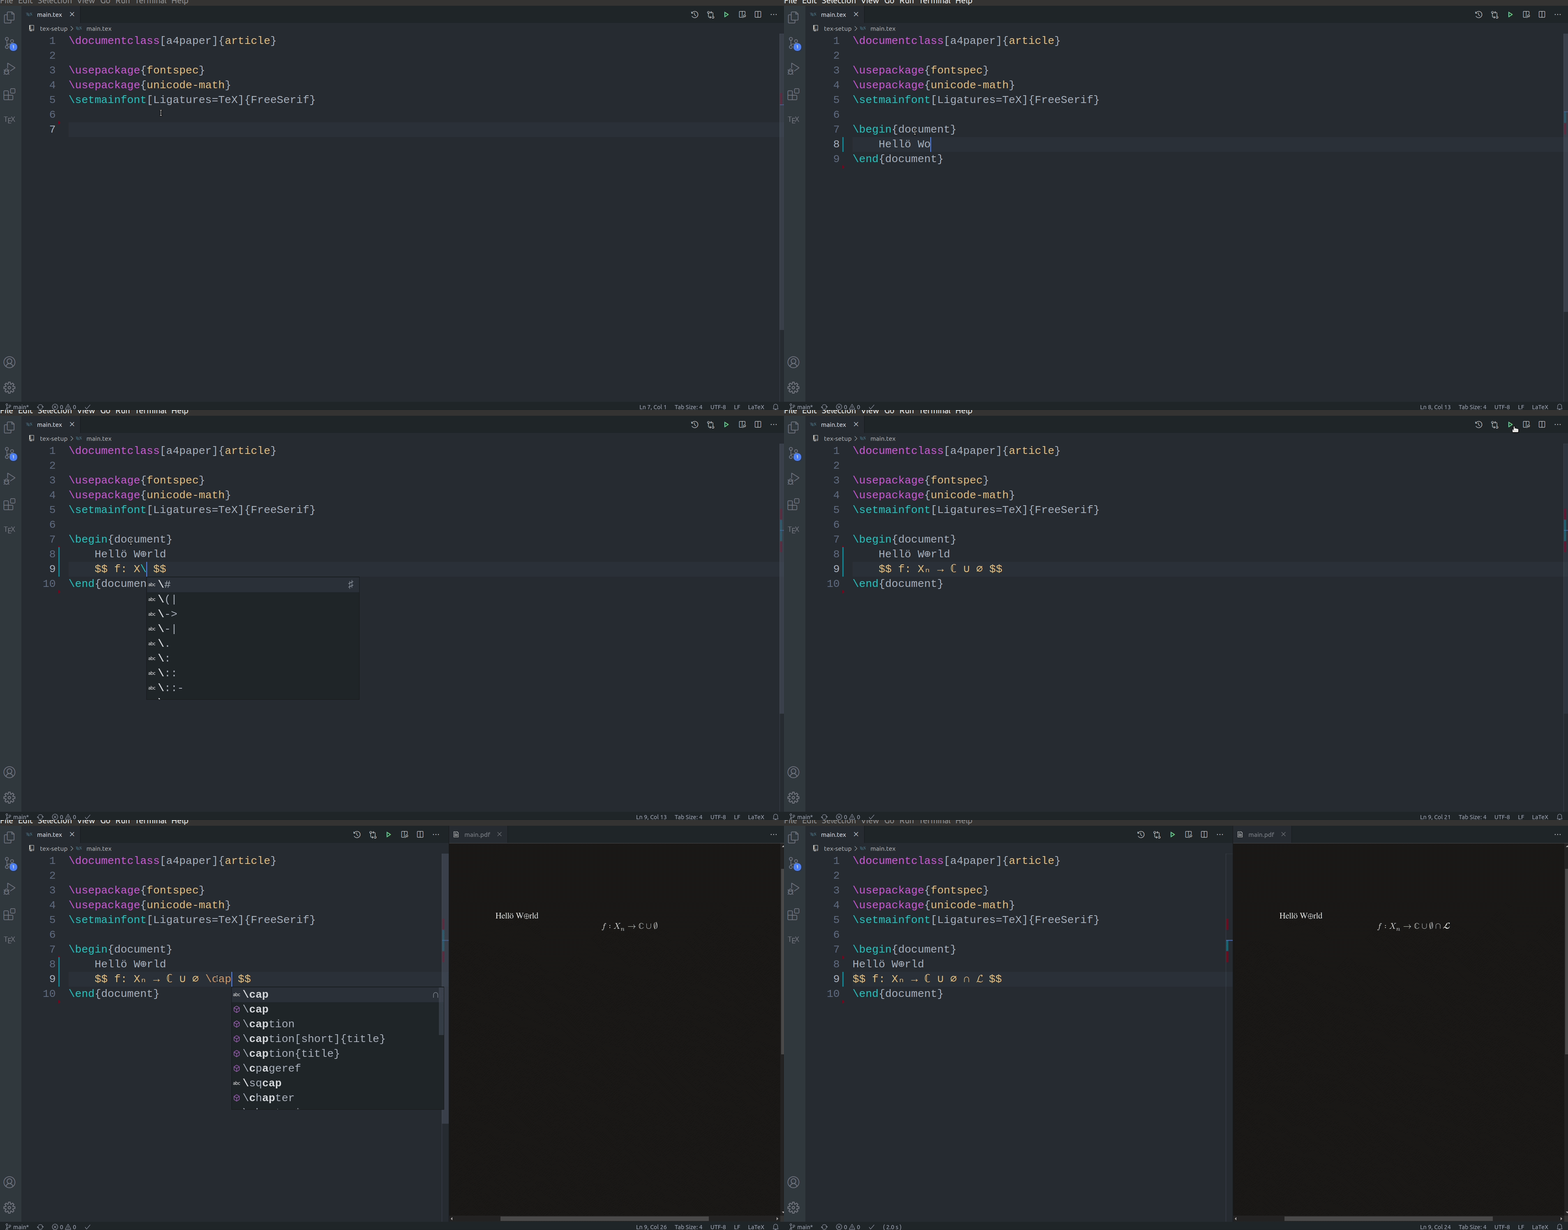
What is this ?
This is a tutorial to get a TeX distribution running on Linux/Windows, with UTF-8 support, using the Visual Studio Code editor.
(This is also a personal reminder in case I need to do it all again 🙂)
Why UTF-8 ?
I find it way easier to write/read TeX documents this way: for me,
Hellö W⊕rld
$$ f: Xₙ → ℒ ∪ ℂ ∪ ∅ $$
Is way more readable than:
Hell\"{o} W$\oplus$rld
$$ f: X_n \to \mathcal{L} \cup \mathbb{C} \cup \emptyset $$
Also don't worry too much about portability: this setup works on Windows, Linux, and even (imperfectly) Overleaf (with the compiler set to XeLateX).
Why VSCode ?
- It has decent latex support: autocompletion, syntax highlighting, view PDF...
- This is a modern editor: this means it looks pretty good, has a lot of configuration options, is extensible...
- It can also be used to code in various programming languages if you need to (in fact, this is its main purpose)
- You can use extensions to easily insert UTF-8 characters.
Drawbacks
- This was not tested on Mac, or linux/BDS distributions other than Debian.
- VSCode is open source, but it is being developped by Microsoft: you may have an issue with that.
- It consumes a slightly high amount of memory
- Overleaf does not support every UTF-8 character, only those in the basic multilingual plane. This is usually fine, but some characters like
𝒢fall outside of this range.
Dependencies
Be sure to install the dependencies for your system before continuing !
Visual Studio Code setup
Now that we have all we need, launch VSCode.
We will need a few things to get the TeX support we want:
Extensions
VSCode can be extended with third-party addons called extensions.
To install extensions, go to the extensions panel:
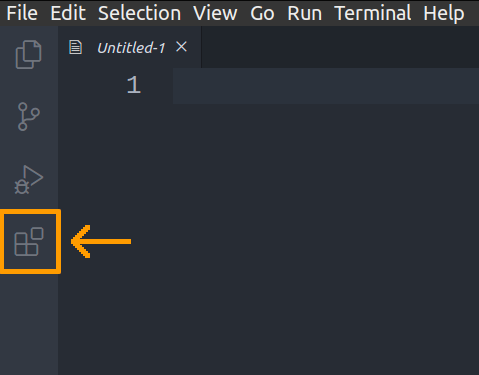
There, you can search and install extensions. Install the following extensions:
- LaTeX Workshop
- latex-input
- Unicode Latex
Settings
Now since we use xelatex instead of the more classic latex, we need to change some settings. Open the settings on the bottom-left:
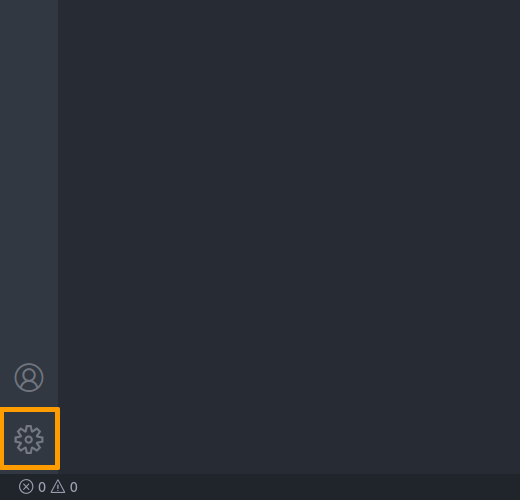
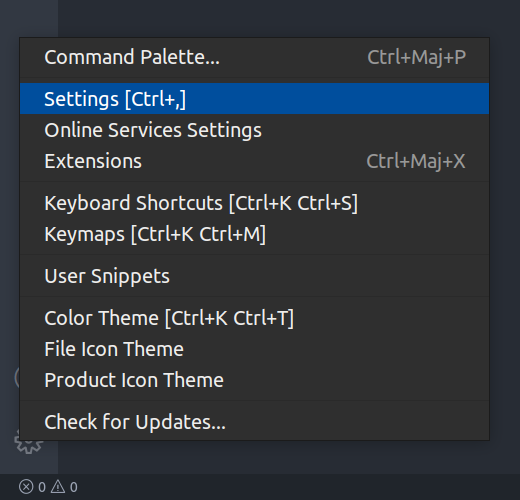
You can modify the settings from here, but it will be easier to change the settings file directly. Click on the "Open Settings (JSON)" button on the top-right:

And replace the content of the file with
{
  // Use XeLateX instead of LateX
  "latex-workshop.latex.tools": [
    {
      "name": "latexmk",
      "command": "latexmk",
      "args": [
        "-xelatex",
        "-output-directory=build",
        "-synctex=1",
        "-interaction=nonstopmode",
        "-file-line-error",
        "%DOC%"
      ]
    }
  ],
  // Put the build artifacts in a 'build' directory next to the '.tex' file
  "latex-workshop.latex.outDir": "%DIR%/build",
  // View the resulting PDF in dark mode.
  "latex-workshop.view.pdf.invertMode.enabled": "always",
  "latex-workshop.view.pdf.invert": 0.9,
  // View the PDF directly in VSCode
  "latex-workshop.view.pdf.viewer": "tab"
}
(Remove the lines you don't want)
The LateX Workshop extension has various interesting settings, don't hesitate to play with these
Write some TeX !
Now we can start writing TeX !
Open a new directory in VSCode, and create a new main.tex file in it. Fill it with
\documentclass[a4paper]{article}

\usepackage{fontspec}
\usepackage{unicode-math}
\setmainfont[Ligatures=TeX]{FreeSerif}

\begin{document}

Hellö W⊕rld
$$ f: Xₙ → ℒ ∪ ℂ ∪ ∅ $$

\end{document}
You can then:
-
Build the document:

-
View the resulting PDF:

The resulting PDF (and intermediary files) can be found in the build directory next to main.tex.
Easily write UTF-8
Note the 2 extensions we installed after Latex Workshop: latex-input and Unicode Latex. These will help us write any character we want:
-
Unicode Latex allow you to insert almost any UTF-8 character you want. In VSCode, open the command prompt with
Ctrl+Shift+P, and typeUnicode: Insert Math Symbol. You then have access to the list of characters, with a search function based on the name of their TeX command.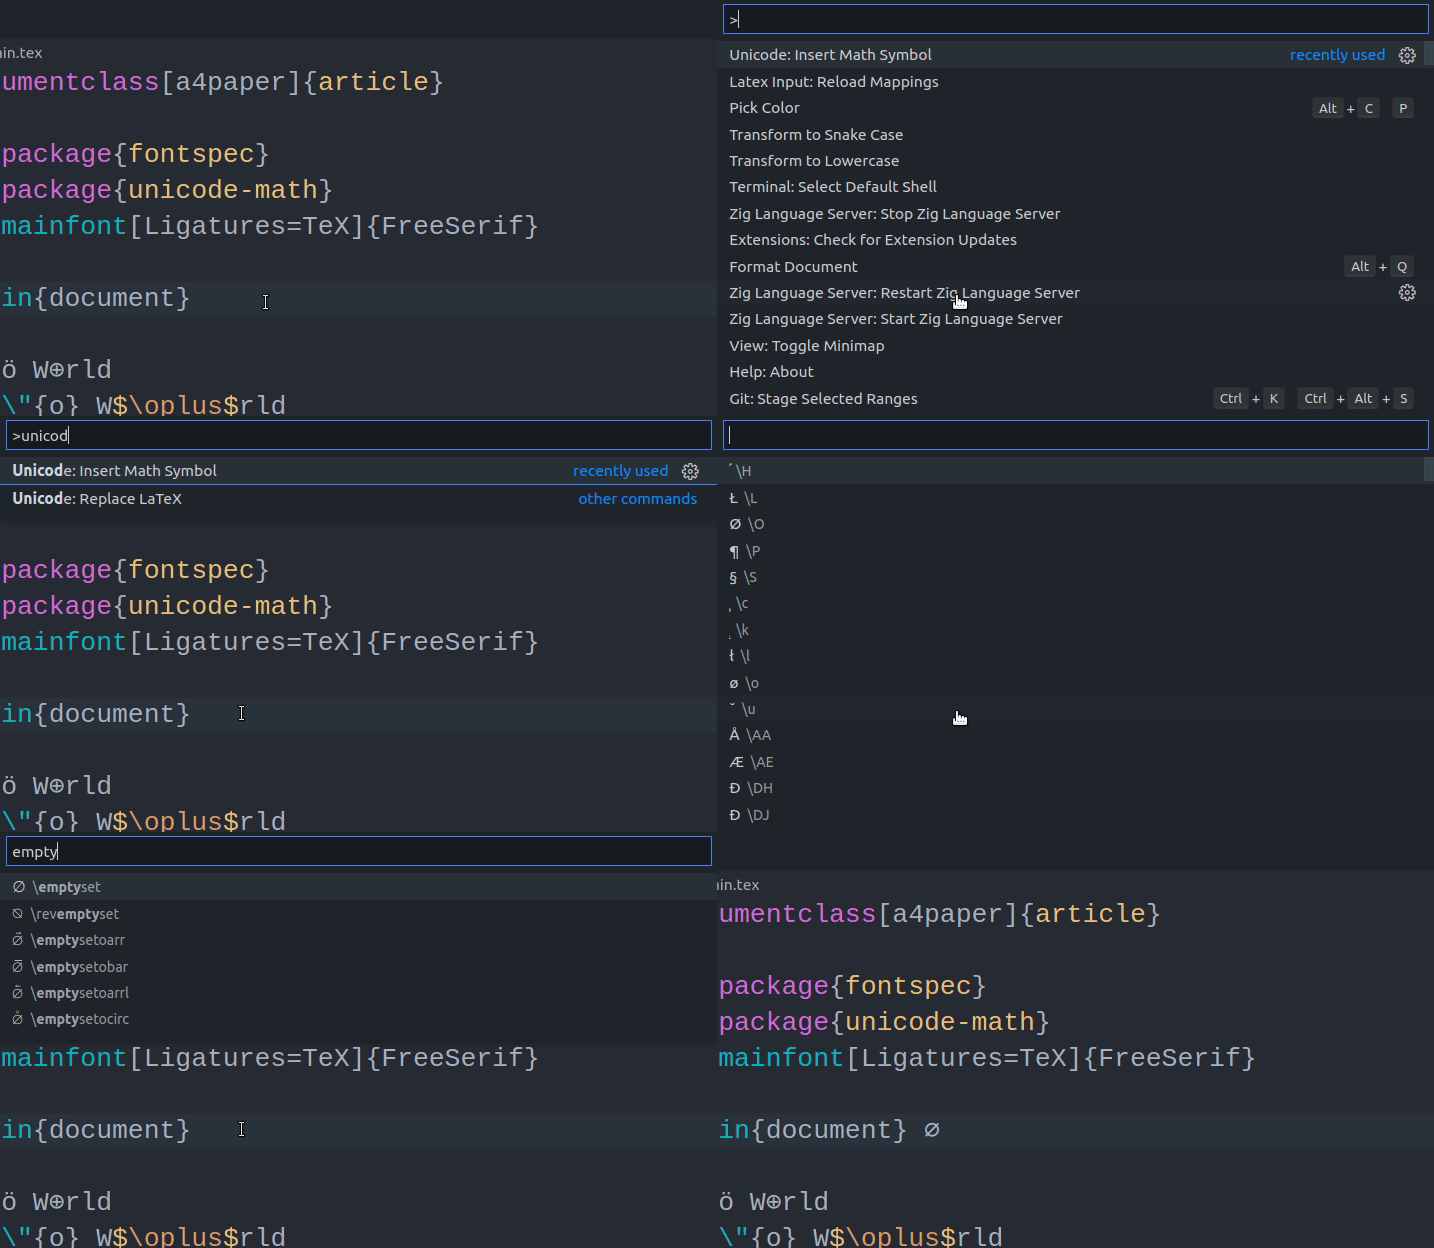
-
This is a bit annoying to use though: and that is why we have latex-input ! This allow us to gain autocompletion for various UTF-8 characters: just type
\and the name of the command you want:
latex-input is customizable via a json file (the version number may change):
.vscode/extensions/yellpika.latex-input-1.0.0/default-mappings.jsonon Linux.C:\Users\<USERNAME>\.vscode\extensions\yellpika.latex-input-1.0.0\default-mappings.jsonon Windows.
If you want, the latex-input-mappings.json file provides a reasonable extension to the default: just use its content to overwrite
default-mappings.json.